How to Repair a Leaky Roof: Step-by-Step Guide to Stop Your Roof Leak
A leaky roof requires prompt, methodical repair to prevent extensive water damage to your home. While complex leak repairs demand professional expertise, understanding the proper process helps you make informed decisions and potentially handle minor issues yourself. This comprehensive guide walks through the systematic approach professionals use to locate and repair roof leaks, from initial detection through final quality checks.
Step 1: Locate the Leak Source Accurately
Finding where water actually enters your roof is crucial because leak symptoms inside rarely match the exterior breach location. Water travels along rafters, insulation, and sheathing before dripping through ceilings, sometimes several feet from the entry point. Effective leak detection requires examining your attic during or immediately after rain.
Look for water trails on the underside of roof decking, following them upward to find where water enters. Check common failure points including flashing around chimneys, vent pipes, skylights, and where different roof planes meet in valleys. Wet insulation, water stains on rafters, and rust on nail heads all indicate leak paths. Understanding common mistakes in DIY leak detection helps avoid wasted effort on symptoms rather than sources.
Step 2: Gather Proper Materials and Tools
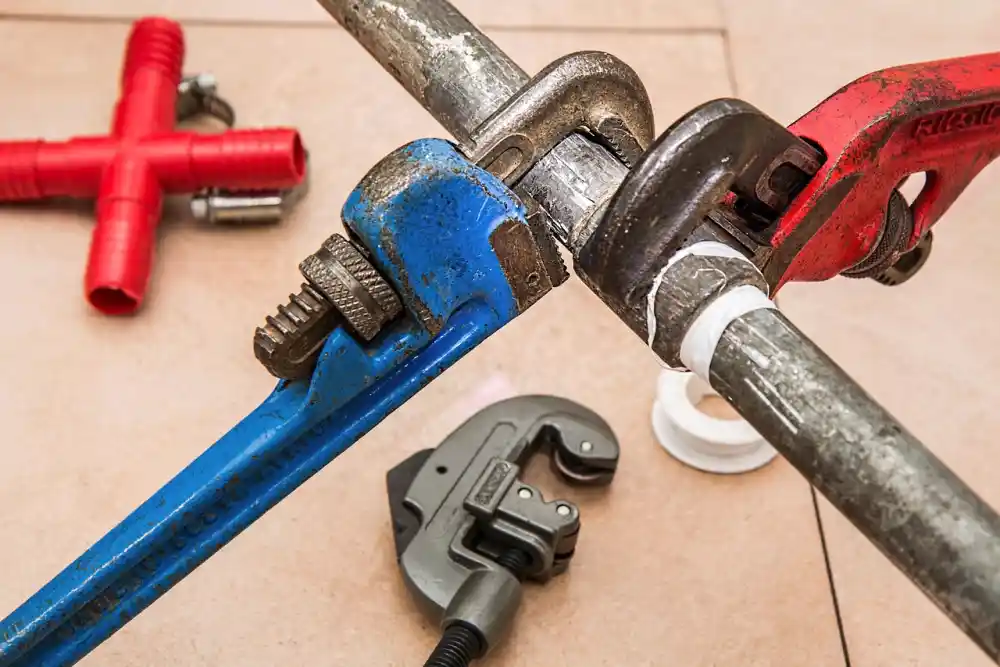
Successful roof repairs require materials specifically designed for roofing applications. For asphalt shingle repairs, you'll need replacement shingles that match your roof, roofing cement or sealant rated for exterior use, galvanized roofing nails, and a flat pry bar. Flat roof repairs demand different materials based on roof type—EPDM, TPO, or PVC membranes each require compatible patches and adhesives.
Safety equipment is non-negotiable. A sturdy extension ladder with roof hooks or stabilizers, proper footwear with good traction, safety harness for steep pitches, and someone to spot you from the ground are essential. Never skip safety measures to save time. Professional roofers also use fall protection systems and equipment specifically designed for roof work. For specialized systems like flat roofing, professional-grade materials often outperform consumer products available at hardware stores.
Step 3: Assess Weather Conditions and Timing
Timing roof repairs properly makes the difference between lasting fixes and wasted effort. Never attempt permanent repairs during active rain, high winds, or when surfaces are wet. Roofing materials won't seal properly in moisture, and wet surfaces create extreme fall hazards. Cold temperatures below 40°F prevent adhesives from bonding correctly and make shingles brittle.
Wait for dry conditions with temperatures above 50°F for shingle work, preferably during morning hours before summer heat makes roof surfaces dangerously hot. If leaks are active during bad weather, focus on interior water control with buckets and towels, then make temporary protection measures like tarping from inside the attic when possible. Schedule permanent repairs when conditions allow proper installation. Similar considerations apply to all roofing types, as explained in flat roof repair approaches.
Step 4: Prepare the Damaged Area Properly
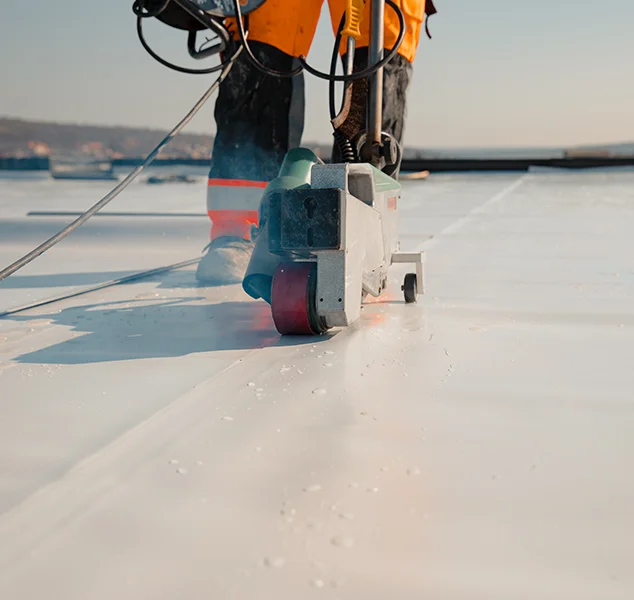
Proper surface preparation determines repair longevity. Clean the repair area thoroughly, removing all debris, loose granules, dirt, and moss. For shingle repairs, carefully lift surrounding shingles without breaking them—they're sealed with adhesive strips that need gentle separation. Remove any damaged roofing cement or old patches completely rather than layering new materials over failing old ones.
Examine the roof deck beneath damaged shingles for soft spots, rot, or other damage requiring repair before new shingles go down. Wet or damaged decking must be replaced or reinforced to support new roofing materials properly. This inspection step prevents installing new materials over compromised substrates that will fail again quickly. Professional roof repair specialists always verify substrate integrity before proceeding with repairs.
Step 5: Execute the Repair Using Proper Techniques
For asphalt shingle repairs, slide new shingles into place under the course above, aligning them with surrounding shingles. Nail through the adhesive strip area with four nails per shingle placed where the next course will cover them. Apply roofing cement under lifted edges of surrounding shingles and press firmly to reseal. The repair should blend invisibly with surrounding shingles when done correctly.
Flashing repairs around chimneys, vents, and valleys require different approaches. Step flashing must be woven properly with shingle courses, while counter flashing tucks into masonry joints. Valley flashing often needs complete replacement rather than patches. Vent pipe boots with cracked rubber gaskets should be replaced entirely—sealing cracks provides only temporary relief. Each repair type demands specific techniques for lasting results. When uncertain about proper methods, working with trusted roofing contractors ensures repairs meet manufacturer specifications.
Step 6: Seal and Weatherproof the Repair
Proper sealing makes repairs watertight. Apply roofing cement liberally but neatly under lifted shingle edges and around all penetrations. Smooth excess cement to prevent it from catching debris or creating dams that hold water. On flat roofs, membrane patches must extend well beyond damaged areas with proper overlap and complete adhesion across the entire patch surface.
Allow adhesives and sealants adequate cure time before exposing repairs to weather. Most roofing cements need 24-48 hours to set properly depending on temperature and humidity. Some products require longer cure periods. Check manufacturer instructions for specific timing. Rushing back into service before materials cure fully compromises repairs and leads to premature failure. Understanding different roofing materials and their installation requirements ensures proper handling of various systems.
Step 7: Inspect from Inside After the First Rain
The true test of any roof repair comes with the next rain. After weather passes, enter your attic with a flashlight and carefully inspect the previously damaged area for any signs of continuing leaks. Check for fresh water marks, wet insulation, or new drips. Even small damp spots indicate incomplete repairs that need immediate attention.
If leaks persist, don't simply add more sealant to the same spot—this usually indicates the actual leak source hasn't been found. Trace water paths again, looking for alternative entry points you may have missed initially. Multiple small leaks clustered together often point to larger problems like damaged flashing or deteriorating roof sections that need more extensive repair. Recurring leaks after repair attempts usually mean replacement should be considered over continued repairs.
Emergency Temporary Leak Control Measures
When permanent repairs must wait for better weather or professional help, proper temporary measures prevent interior damage escalation. Tarps can protect roofs effectively when installed correctly—extend them over the ridge and weight them securely without creating new punctures. Inside the attic, creating a controlled drainage point by carefully puncturing water-bulged ceilings at the lowest point directs water into buckets rather than letting it spread across ceilings.
Move furniture, electronics, and valuable items away from active leak zones. Place plastic sheeting over items that cannot be moved. Document all damage with photos for insurance purposes before starting any repairs. If water volume is significant or affects electrical fixtures, shut off power to affected areas and contact emergency services. These interim measures buy time while you arrange proper repairs, but should never substitute for permanent fixes. Professional roofers understand when emergency measures suffice and when immediate professional response is essential.
Special Considerations for Different Roof Types
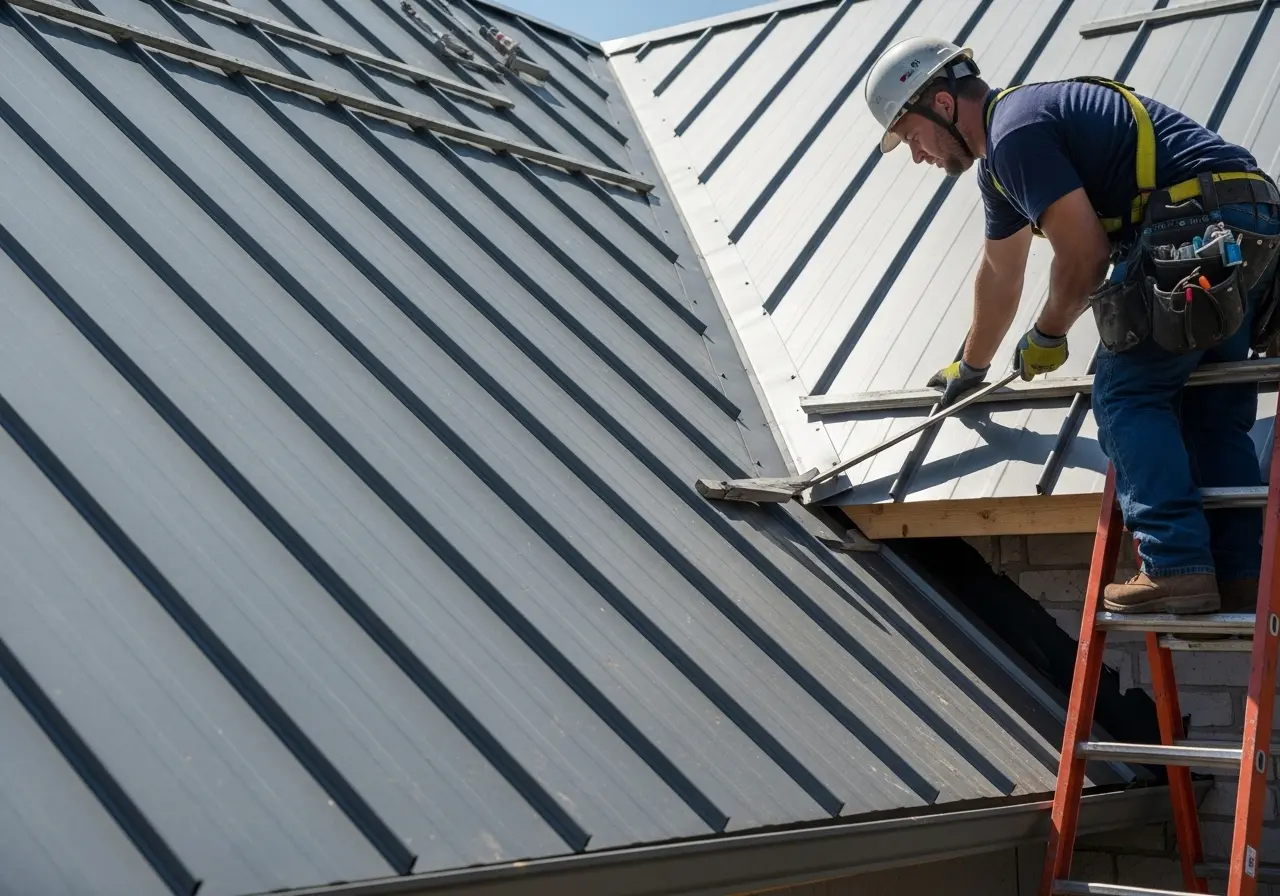
Asphalt shingle roofs represent the most common residential roofing and generally allow straightforward repairs with matching materials. Metal roofs require different approaches—fastener replacement, sealant application at seams, and panel patching all demand metal-specific techniques. Attempting shingle repair methods on metal roofs leads to certain failure.
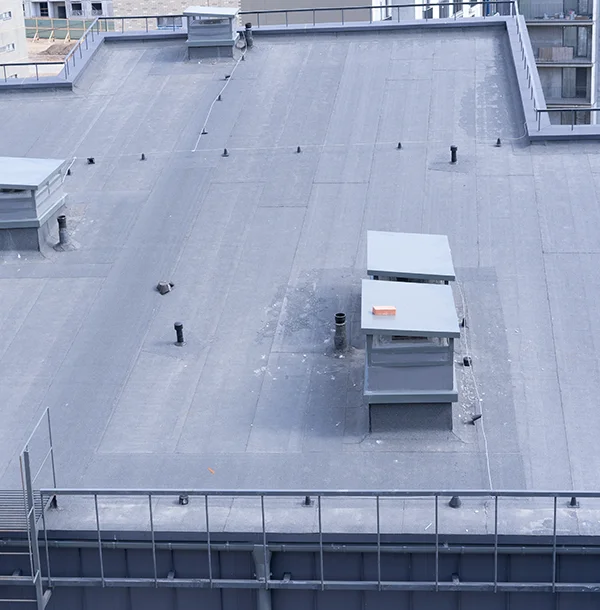
Flat or low-slope roofs using EPDM, TPO, or PVC membranes need compatible repair materials and application methods. Each membrane type requires specific primers, patches, and seaming techniques. Using products designed for different membrane types will not bond properly and creates leak risk. Tile and slate roofs demand extremely careful handling as tiles break easily and improper repairs can cause cascading damage. For specialized roofing systems like metal roofing, professional expertise typically outweighs DIY savings.
Understanding When DIY Becomes Professional Territory
Certain leak repair situations clearly exceed DIY capabilities regardless of homeowner skill. Multiple leak points scattered across the roof suggest systemic failure requiring comprehensive assessment. Leaks involving chimneys, complex valley intersections, or ice dam damage often have hidden components that DIY repairs miss. Structural damage, sagging roof sections, or extensive rot demand professional evaluation and repair.
Age factors into the decision significantly. Roofs approaching or past their expected lifespan of 20-30 years for shingles rarely benefit from individual leak repairs—replacement typically makes more financial sense. Similarly, repeated leak repairs in the same general area indicate underlying problems that patchwork cannot address. Professional roofers provide comprehensive assessments that identify whether targeted repairs solve problems or whether more extensive work prevents ongoing issues. Understanding how to choose qualified roofing contractors ensures you get honest recommendations rather than unnecessary upselling.
Preventive Maintenance to Avoid Future Leaks
The most effective leak repair is prevention through regular maintenance. Annual professional roof inspections catch small problems before they become emergency leaks. Clean gutters and downspouts prevent water backup that can work under shingles. Trim overhanging tree branches that drop debris and damage shingles during storms. Ensure adequate attic ventilation to prevent moisture buildup and ice dam formation.
After severe storms, visual inspections from the ground can spot obvious damage like missing shingles or debris impact. Many Northern Virginia homeowners schedule biannual inspections in spring and fall to address seasonal weather effects proactively. These preventive measures cost far less than emergency repairs and provide peace of mind through all seasons. Regular maintenance extends roof life significantly and prevents most leak emergencies that homeowners face.
Insurance Claims and Leak Repair Documentation
When leak damage may be insurance-covered, proper documentation becomes crucial. Take extensive photos of both interior damage and exterior roof damage before making any repairs. Document the date leaks began and weather conditions involved. Keep all receipts for emergency supplies and temporary repairs. This documentation supports insurance claims and helps adjusters assess damage accurately.
Professional roofing contractors experienced with insurance work provide detailed damage assessments formatted for insurance companies. They photograph all damage comprehensively, prepare itemized repair estimates, and communicate directly with adjusters. This professional documentation often results in better claim outcomes than homeowner-submitted information. Before attempting DIY repairs on potentially covered damage, consult your policy and consider whether professional documentation protects your interests better in the claims process.

Regional Considerations for Northern Virginia Roofs
Northern Virginia's climate presents specific challenges for roof leak repairs. Humid summers promote rapid mold growth in leak-affected areas, making prompt repairs essential. Winter freeze-thaw cycles can quickly expand small leaks into major problems as water freezes in cracks, expanding damage. Spring storms bring driving rain that tests repair quality immediately.
Local building codes and HOA requirements may restrict certain repair methods or materials. Some communities require permits even for minor roof repairs, while others have aesthetic standards for shingle colors and styles. Understanding these regional factors helps ensure repairs meet all applicable requirements. Working with contractors familiar with serving Reston, Herndon, Sterling, Burke, and Springfield ensures repairs address area-specific challenges effectively.
Long-Term Thinking: Repair vs. Replacement Planning
Every leak repair decision should consider the roof's remaining service life and overall condition. Investing significantly in repairs for a roof nearing replacement age rarely makes financial sense. Conversely, quality repairs on newer roofs with isolated damage provide excellent value. Calculate repair costs as a percentage of full replacement cost—when repairs approach 30-40% of replacement, replacement often makes more sense.
Factor in your timeline for owning the home. If selling within a few years, strategic repairs might be appropriate. If staying long-term, replacement provides decades of worry-free protection. Many Northern Virginia homeowners use professional roof assessments to create long-term maintenance and replacement plans that prevent emergency situations and allow for budgeted capital improvements. This proactive approach delivers better outcomes than reactive emergency responses to ongoing leak problems.
Professional Expertise When You Need It Most
Reston Roof provides comprehensive leak detection and repair services throughout Northern Virginia. Our experienced team systematically identifies leak sources, uses proper materials for lasting repairs, and follows manufacturer specifications on every project. We provide honest assessments, transparent pricing, and quality workmanship backed by solid warranties.
Whether you need emergency leak response, planned repairs, or are deciding between repair and replacement, we serve homeowners in Reston, Herndon, Sterling, Burke, Springfield, and all surrounding communities. Our commitment to doing it right the first time saves you money and stress. Contact Reston Roof today at (571) 453-6515 for professional roof leak repair you can trust.
